How to Make a 90 degree Elbow in Electrical Trunking?
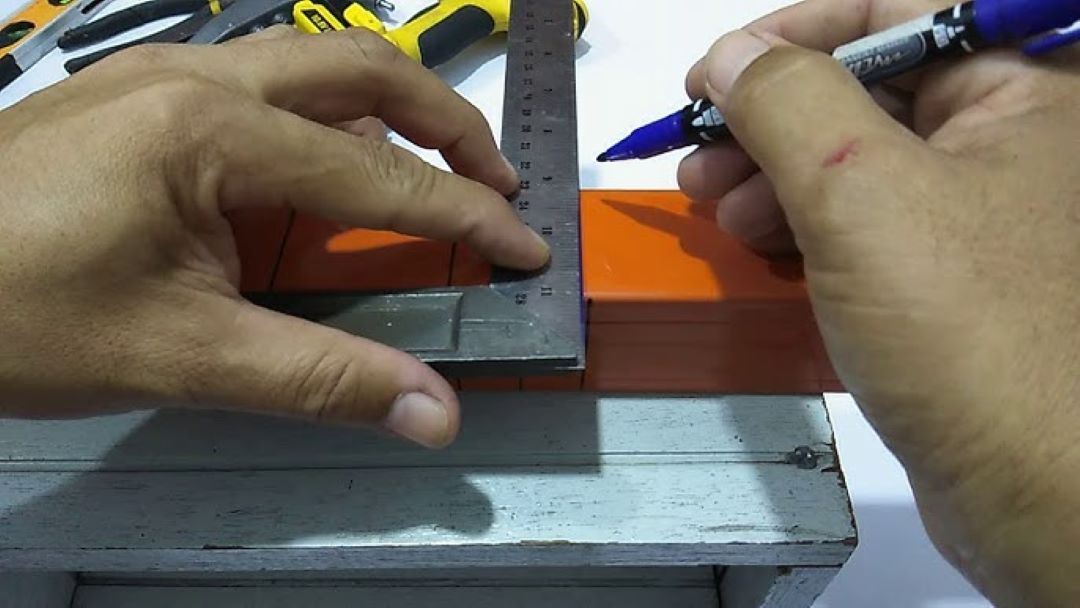
To make a 90 degree elbow in electrical trunking, measure and mark the desired angle on the trunking, ensuring that you have the correct length for a seamless fit.
Use a saw or appropriate cutting tool such as angle grinder to accurately cut along the marked line, and then carefully join the two sections together, securing them with connectors or adhesive as needed to maintain stability and compliance with electrical standards.
How to cut electrical trunking 90 degree?
To cut electrical trunking 90 degrees, you will need to gather the appropriate tools, such as a hacksaw or a mitre box, to ensure a precise and clean cut.
Start by measuring and marking the trunking to indicate where the cut should be made, taking care to double-check your measurements for accuracy.
Once marked, securely clamp the trunking and proceed to cut along the marked line, maintaining a steady hand to achieve the desired angle.
After cutting, smooth any rough edges to prevent injury and ensure a proper fit when connecting sections of trunking.
What is the trunking 90 degree bend formula?: Guide for Cutting Mild Steel Metal Trunking
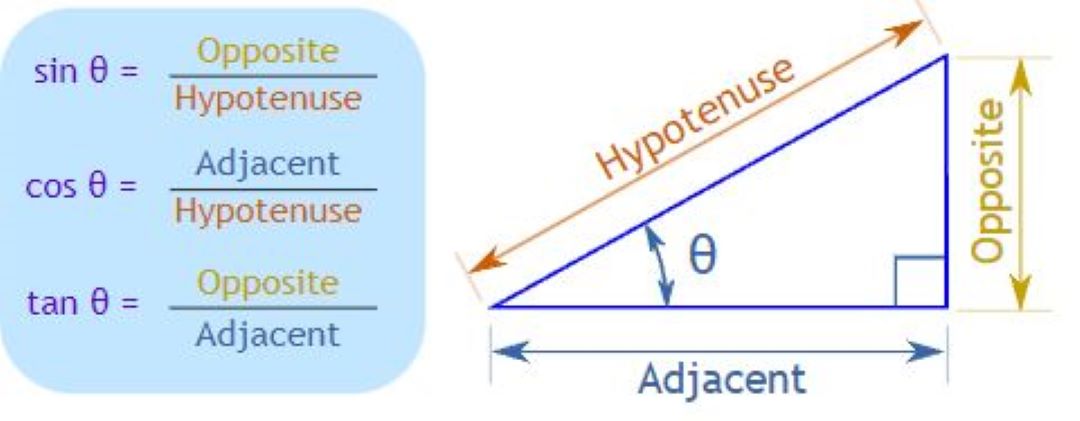
The trunking 90 degree bend formula is essential for ensuring accurate cutting when creating bends in electrical trunking. For PVC trunking, the formula generally involves measuring the width of the trunking and adding a little extra for the angle, commonly incorporating trigonometric functions.
For instance, if you want to cut a length of steel trunking that is 50mm wide, you would typically measure 50mm for the straight section before the bend, plus the height of the bend, which might be another 50mm depending on the design.
To illustrate, let’s say you need to cut the trunking at a point 100mm from one end to create a 90-degree bend. You would measure 100mm along the trunking and mark that spot.
Using the right formula, which might include taking the tangent of the angle if calculating the height necessary for the cut, you would ensure that the cut is precise to maintain the integrity of the cable management system.
Applying a guide or template can further streamline this process. For a downloadable reference, you can refer to a trunking cutting formula PDF to visualize cutting techniques and dimensions.
How to cut PVC trunking into 45 degree?
To cut PVC trunking into a 45 degree bend, start by determining the center mark where you need to make the cut. This precision is essential for achieving an accurate electrical elbow.
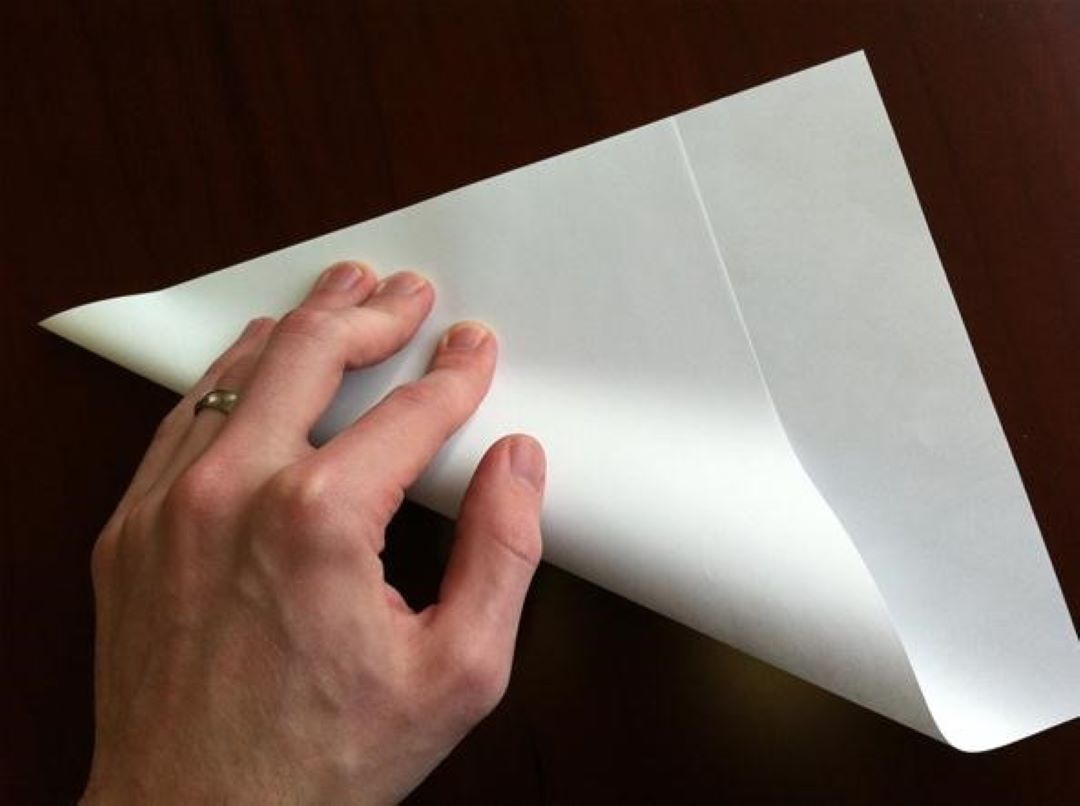
Using a piece of paper, fold it twice at the edges to create a 22.5-degree angle, which will help in marking the angles correctly. Place the folded paper on the center mark and make the necessary markings.
If you don't have a piece of paper handy, you can utilize the trunking 45 degree bend formula by applying trigonometry to accurately determine the cutting angles needed for creating your bend.
After squaring these marks around the trunking, you can outline where to remove material to create the bend. It’s crucial to cut only up to the marks without exceeding them to maintain the integrity of the trunking.
Once the unnecessary parts are cut out, give the edges a good filing for a smooth finish. If needed, drill through the ends for additional support when fixing them together using bolts and nuts.
This method not only ensures that the electrical trunking fits perfectly in your project but also adheres to relevant standards like BS : EN, making it suitable for various applications, including schools.
When selecting tools for this task, consider a dedicated trunking cutter, which allows for clean and precise cuts without the need for a saw, cutter, or angle grinder. Remember to follow the trunking cutting formula to achieve the best results with your materials and product requests.
How to make an internal 90 degree bend in electrical trunking?
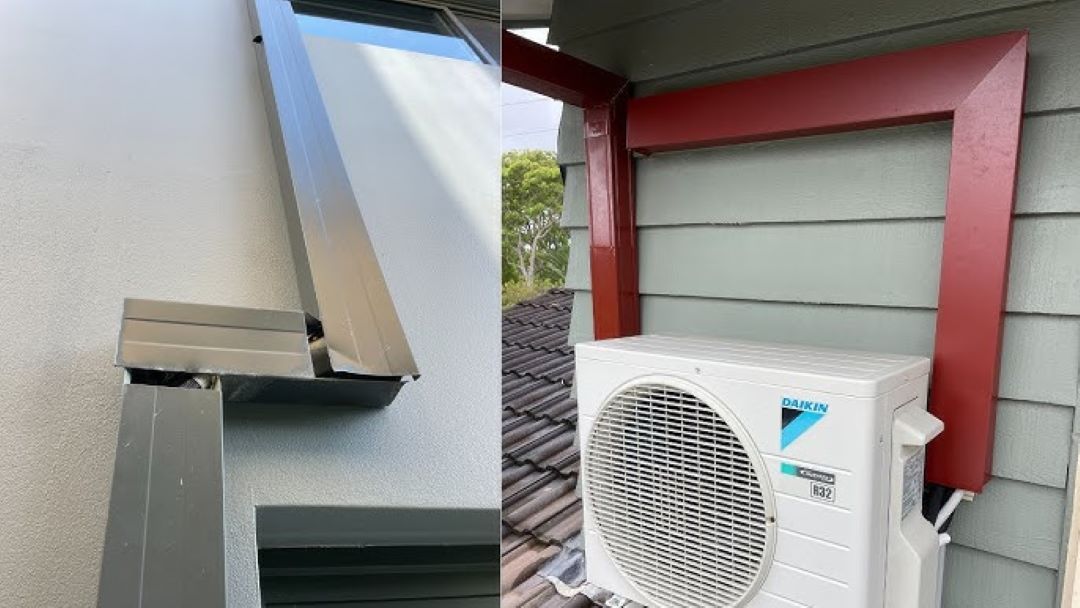
To make an internal 90 degree bend in electrical trunking, start by measuring the side of the trunking where the bend will occur.
Mark from the back of the bend to the back of the next bend using an L-square to ensure accuracy. Square this line all the way around the trunking to clearly define your cut area.
It's crucial to identify the direction of the bend; mark a 45-degree angle from the point of intersection, going in the direction of the bend.
On the back side, the marks will reflect the opposite direction. On the top side, indicate the material that will be removed, selecting the side that seems easiest for cutting.
Carefully cut out the little lip and file any sharp edges after cutting. Make a score mark to assist in bending it into a 90 degree angle, ensuring the cut is done on the inside.
Once you've achieved the desired angle, drill holes and insert nuts and bolts to secure the structure, removing any excess material that may be left inside.
This technique will help create a neat and functional electrical elbow using the appropriate trunking materials which are manufactured and that meet BS: EN standards, making it a reliable product for your cable management needs.
For further projects, consider adding these items to your cart for easy access.
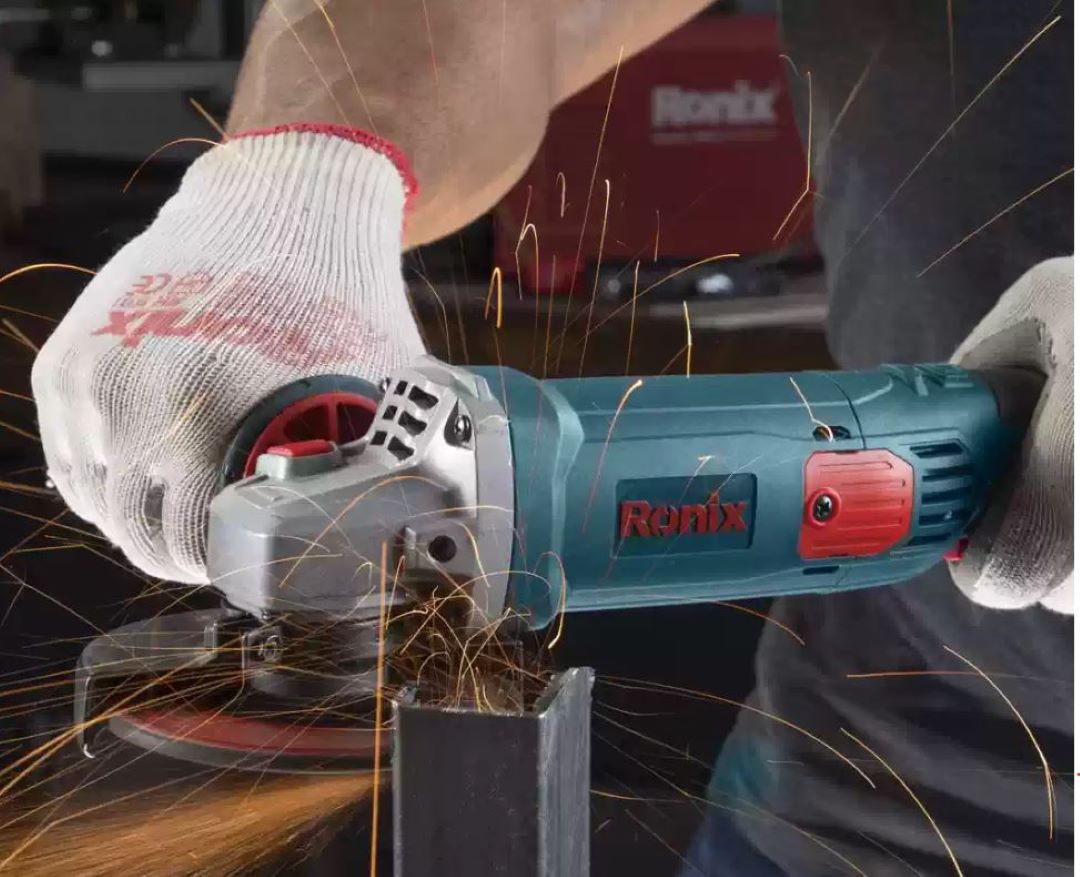
How to cut trunking 90 degree with angle grinder?
To cut trunking 90 degrees with an angle grinder, first mark the desired cut on the trunking with a pencil, ensuring it is straight and accurate. Use a wiss or tin snips to make small scores along the lines on all sides of the trunking; this will create a guide for the angle grinder. When ready, carefully use the angle grinder to follow the scored lines, applying steady pressure and ensuring the trunking remains secure.
Ensure you have all necessary safety equipment, including goggles and gloves. For optimal results, consider the specifications set out by BS : EN for cable trunking products.
Whether you're working with electrical elbow fittings, PVC trunking, or metal trunking, these techniques will help you achieve clean cuts.
If you need visual assistance, many cutting trunking resources are available on platforms like YouTube that demonstrate these cutting techniques in detail. Always remember to follow safety protocols when using power tools to minimize risks.
How do you cut trunking?
You cut trunking by using a cordless bandsaw, angle grinder, or hacksaw, depending on the specific electrical trunking materials you are working with.
For PVC trunking, a sharp utility knife may also be sufficient for thinner profiles. When preparing to create an electrical elbow or perform any bending, it’s essential to measure accurately to ensure clean cuts, allowing for seamless assembly of your cable trunking system.
Always follow your supplier's guidelines for the products you choose to guarantee that you meet the necessary request for quality and precision in your electrical wiring services or installations.
If you are unsure, you can contact Lito Electrical Service for electrical trunking installation.
Apart from electrical trunking, it's crucial to understand how to make a 90-degree elbow in electrical conduit pipe for effective system installations.
Not sure what is the difference between electrical trunking and conduit pipe? Discover the distinctions between electrical trunking and electrical conduit pipe here!
How do you attach trunking to a wall?
You attach trunking to a wall by using screws and wall plugs, ensuring a secure fit for the electrical trunking.
Start by marking the desired location for your cable trunking and drilling holes for the wall plugs, which provide added strength.
Once the plugs are in place, align the trunking and fasten it using screws. For PVC trunking, a similar approach applies, but be mindful to avoid overtightening to prevent damage to the product.
Following these steps will ensure that your electrical trunking elbow joint and trunking are securely mounted and ready to hold your cables neatly.
Attaching trunkings to walls can sometimes disrupt the aesthetic appeal of a room. Find out what are the ways to conceal your HDB electrical trunking for a cleaner and more visually pleasing finish.