How to install LED ceiling lights in Singapore?
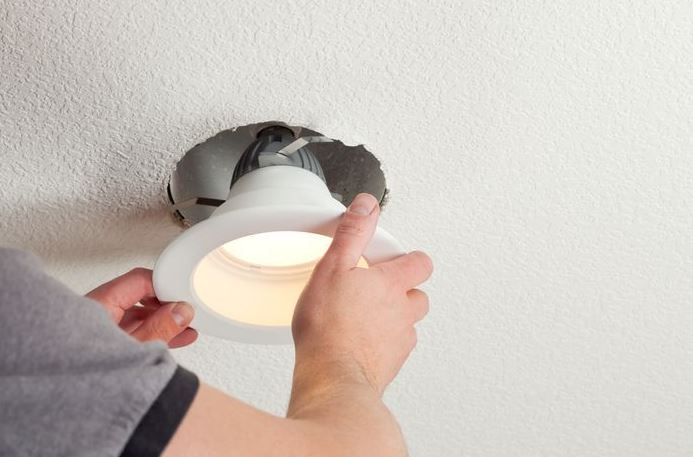
In Singapore, to install LED ceiling lights, one must be knowledgeable about the specific characteristics of LED light, including appropriate watt and voltage for the room. This guide covers the process for installing LED ceiling lights or LED ceiling light replacement, outlining steps from choosing the right LED ceiling light based on room requirements to the careful replacement of old lights. It emphasizes considerations such as ensuring compatibility with existing fixtures, the removal of traditional ballasts for certain LED lights, changing LED ceiling lights, and even touches on installing more complex fixtures like chandeliers, ensuring a comprehensive understanding of the task at hand.
How to change LED bulb in recessed ceiling light with cover?
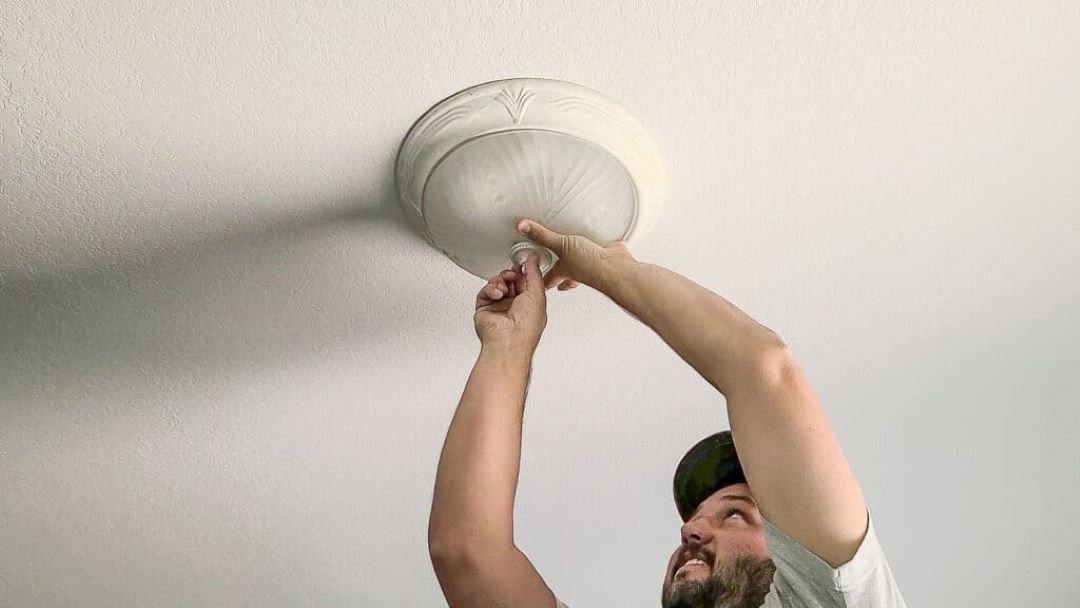
To change an LED bulb in a recessed ceiling light with cover, first, ensure that the main power supply is off to prevent any electrical hazards. It's crucial to handle the replacement of LED lights with care, as incorrect installation can lead to energy wastage or damage. If you're not confident in your ability to replace LED light bulbs safely, consider hiring a professional electrician.
Carefully remove the cover of the recessed light; this might require gently twisting or unscrewing, depending on the design. Next, disconnect the existing bulb from its connector, being careful not to damage the lead. Before installing the new bulbs, verify their compatibility with your system to prevent issues such as flickering or premature failure.
Securely connect the new LED into the socket, ensuring it does not fall or disconnect easily, as a loose connection can lead to inconsistent lighting. Replacing LED lights not only helps in maintaining optimal lighting in your space but also contributes to energy efficiency.
How to change recessed light bulb with spring?
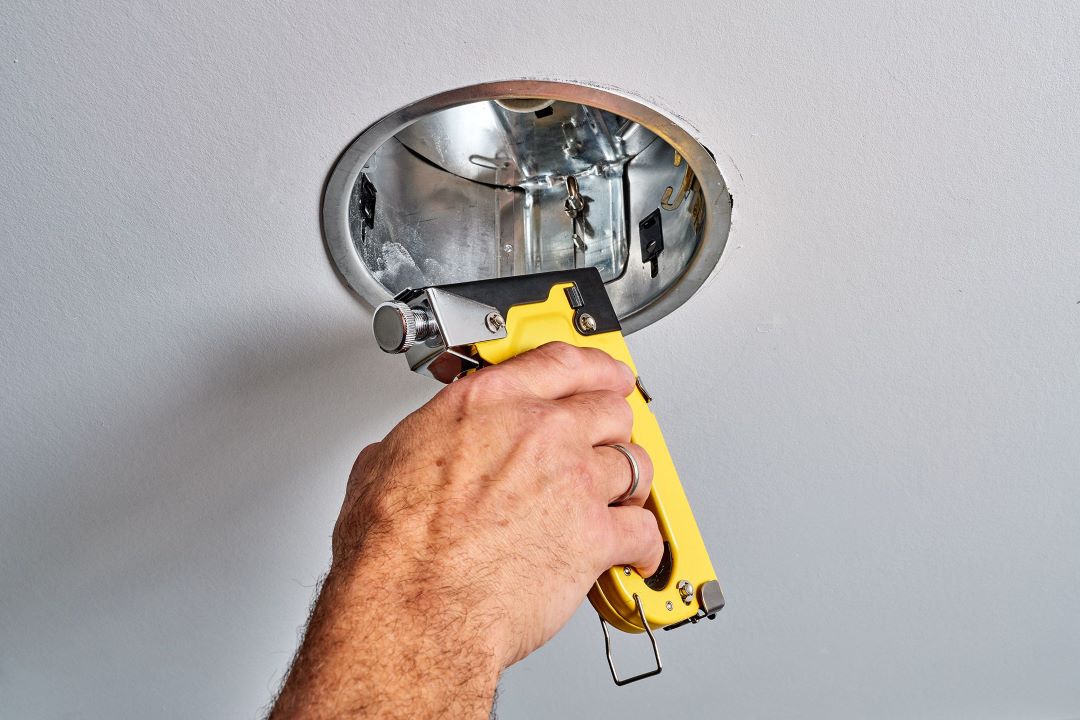
To change a recessed light bulb with spring, first ensure that the power is turned off to avoid any potential electrical hazards. Replacing LED lights requires careful handling; when removing the old light bulbs, gently press on the springs to secure them and avoid letting the lights fall or disconnect abruptly. It is advisable to consider consulting an electrician or a professional who is experienced with LED lights if you're unfamiliar with the process.
They have the expertise to safely disconnect the old bulbs and connect the new LEDs, ensuring the springs are properly attached and the electrical lead is in good condition for optimal energy efficiency. This careful approach not only prevents damage to the recessed fixture but also guarantees that your LED lights will illuminate your space effectively.
How to remove recessed lighting spring clips?
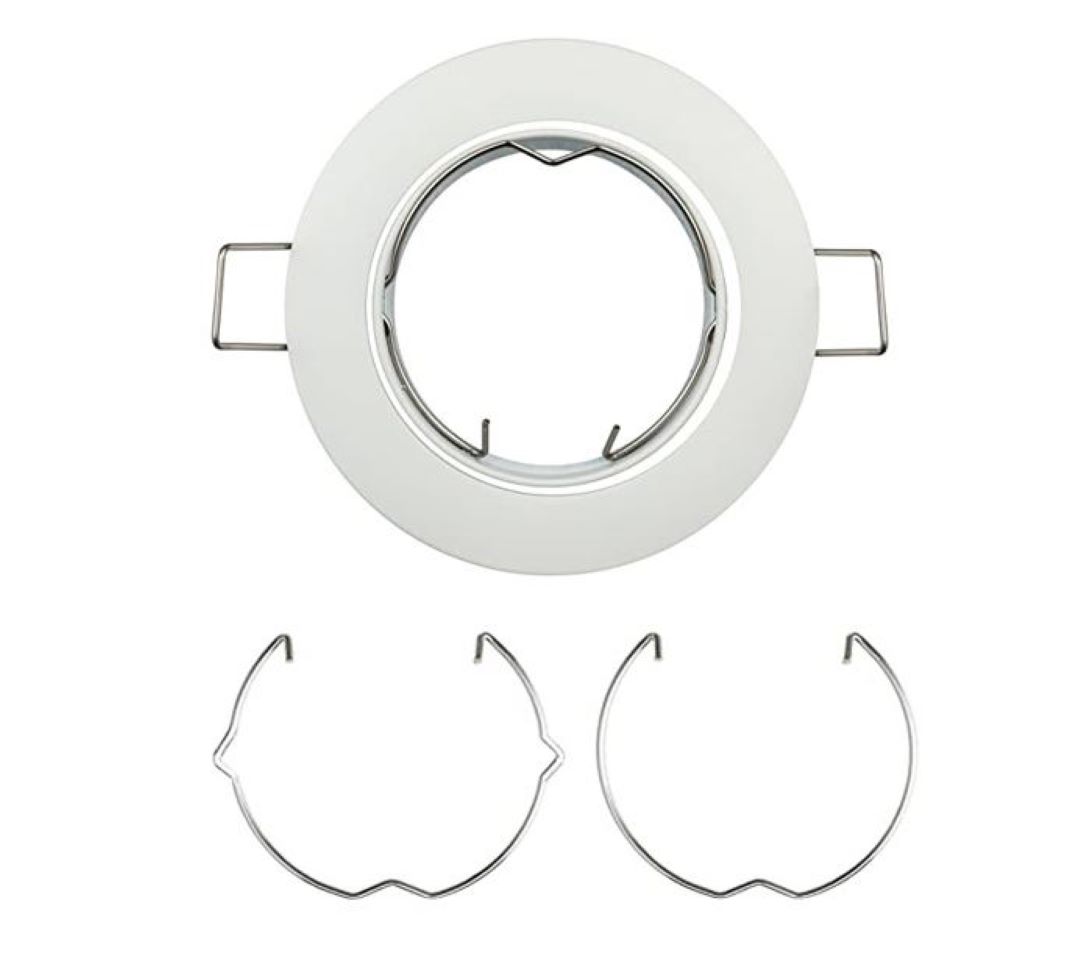
To remove recessed lighting spring clips, first, it’s essential to understand the types of clips used in these systems. Commonly, there are friction clips that simply push into place, and spring-loaded clips that provide tension to secure the LED light.
To manage halo recessed lighting clips specifically, usually a gentle but firm push on the clip will release it. For replacing or doing any job involving LED lights, safety should be your priority. Ensure the power is off from the main switch or plug before attempting the removal or any replacement.
To fix a recessed light spring clip, locate the clip inside the recess of the light. You may need to gently pull or push the clip to release it from its locked position. Sometimes, a screwdriver might be needed to lightly pry the clip free. Carefully connect or align the clips back into their rightful place to secure the cover and complete the repair, brightening up your room once again.
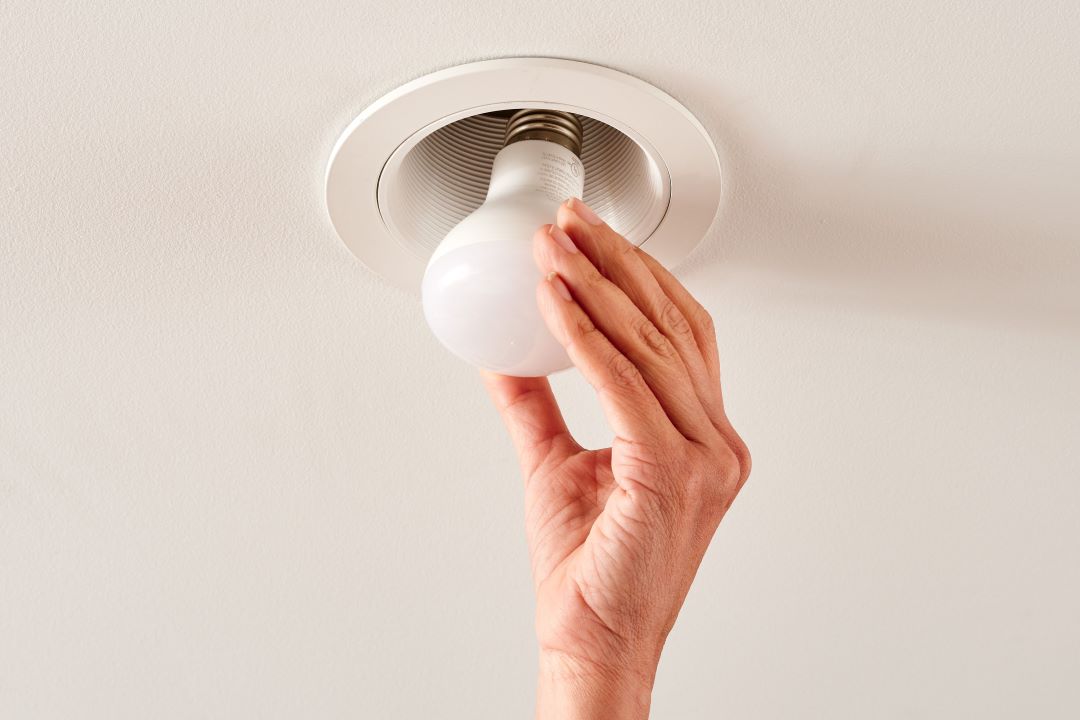
How to replace LED ceiling light bulb?
To replace a square LED ceiling light bulb, first ensure that the power supply is switched off at the main fuse box to prevent any dangerous electrical accidents. Carefully remove the light fitting from the ceiling, which may be secured with screws. Use the appropriate screwdriver to gently remove the screws without damaging the light fitting. Once open, gently push the old LED light out of its position and replace it with a new LED light bulb. Make sure the new LED light is securely in place before reattaching the light fitting back onto the ceiling. Finally, turn the power back on and use the light switch to test the new LED light.
To replace the LED driver in a ceiling light, first switch off the power at the fuse box to ensure a safe working environment. Locate the LED driver, which is typically connected to the light fitting. You may need to remove the light fitting or reflectors to access the driver. Unscrew or unclip the old driver, being careful not to break any wires. Then, connect the new LED driver to the power supply and the light, ensuring all wires are securely connected. Replace the light fitting, screw in any screws you removed, and switch the power back on. Test the light switch to ensure the new driver is working correctly, adjusting for dim lighting if necessary.
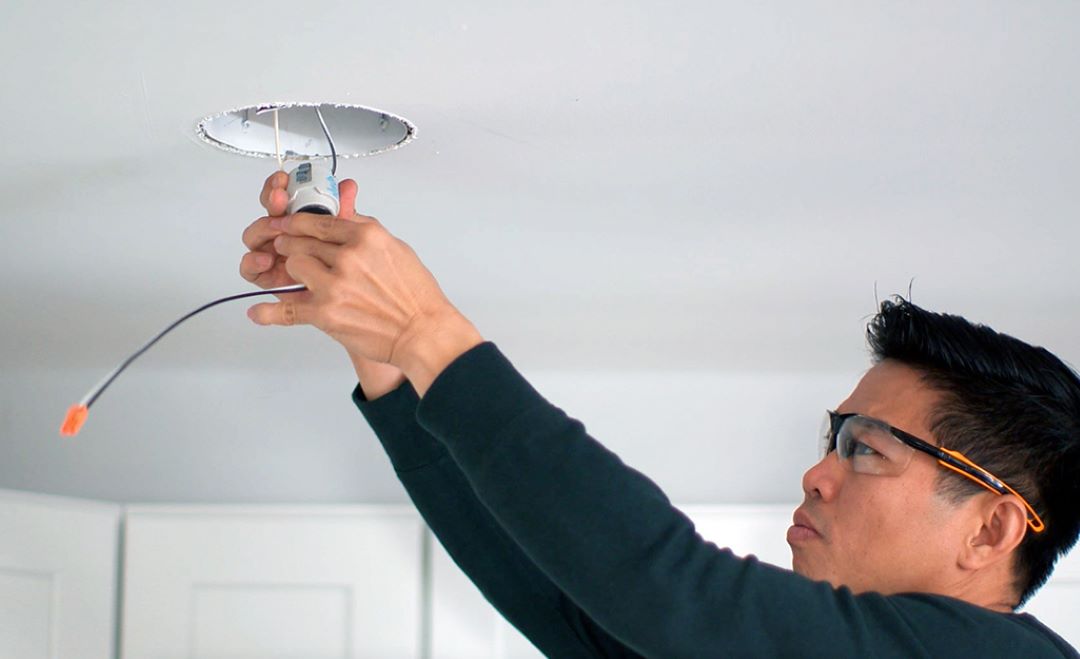
Replacing integrated LED lights in a ceiling fan requires caution and attention to detail due to the combination of electrical and mechanical components. First, ensure the power is completely off at the wall switch and fuse box. Carefully dismantle the fan’s housing by unscrewing it—this may require a specific type of screwdriver. Locate the integrated LED light module and check how it is connected to the fan's power supply. Disconnect the old module and replace it with the new LED light, making sure all connections are secure and correct. Reassemble the fan housing and screw everything back into place with the appropriate screws. Finally, turn the power back on and test the fan and light to ensure the replacement job was successful and the light is sufficiently bright and functioning correctly.
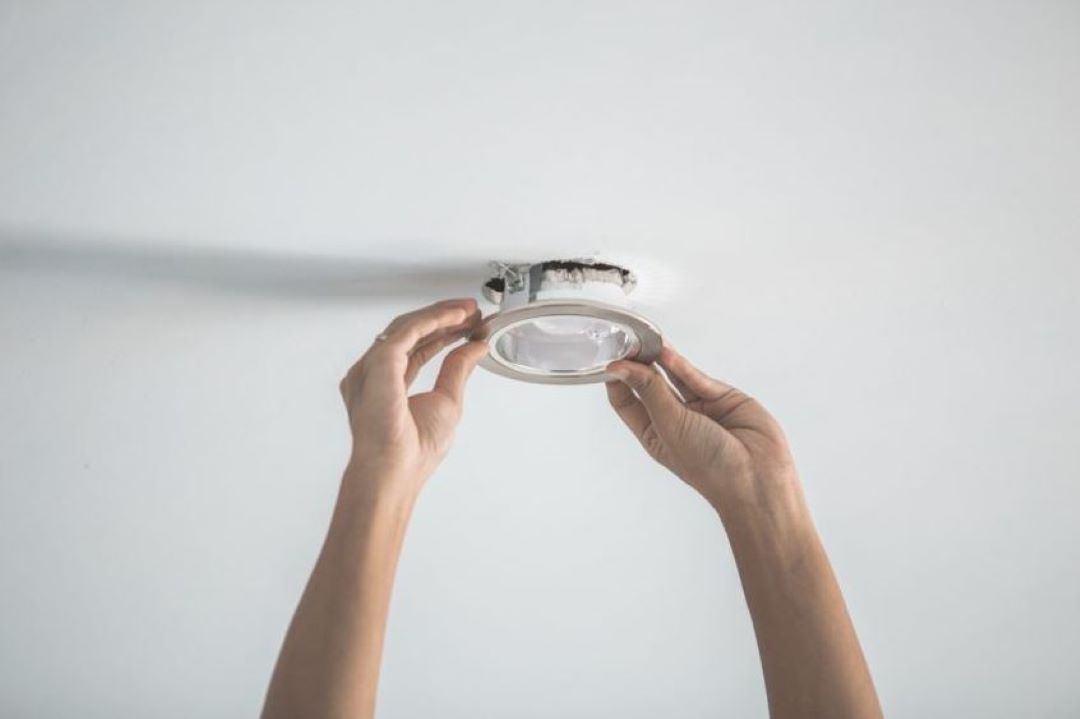
How to replace recessed lighting with flush-mount lighting?
To replace recessed lighting with flush-mount lighting, you first need to ensure that the power is completely turned off. This can be done by switching off the circuit breaker that controls the light. This is a critical step as it ensures safety while working with electrical wiring. After confirming that the power is off, using a ladder for access, carefully remove the existing recessed light fittings. This involves unscrewing or releasing the clips that hold the light in place. For many lights, especially those with spring clips, a flat screwdriver can be utilized to release the clips without damaging the surrounding area. Once the recessed fixture is removed, you can then proceed with the replacement process.
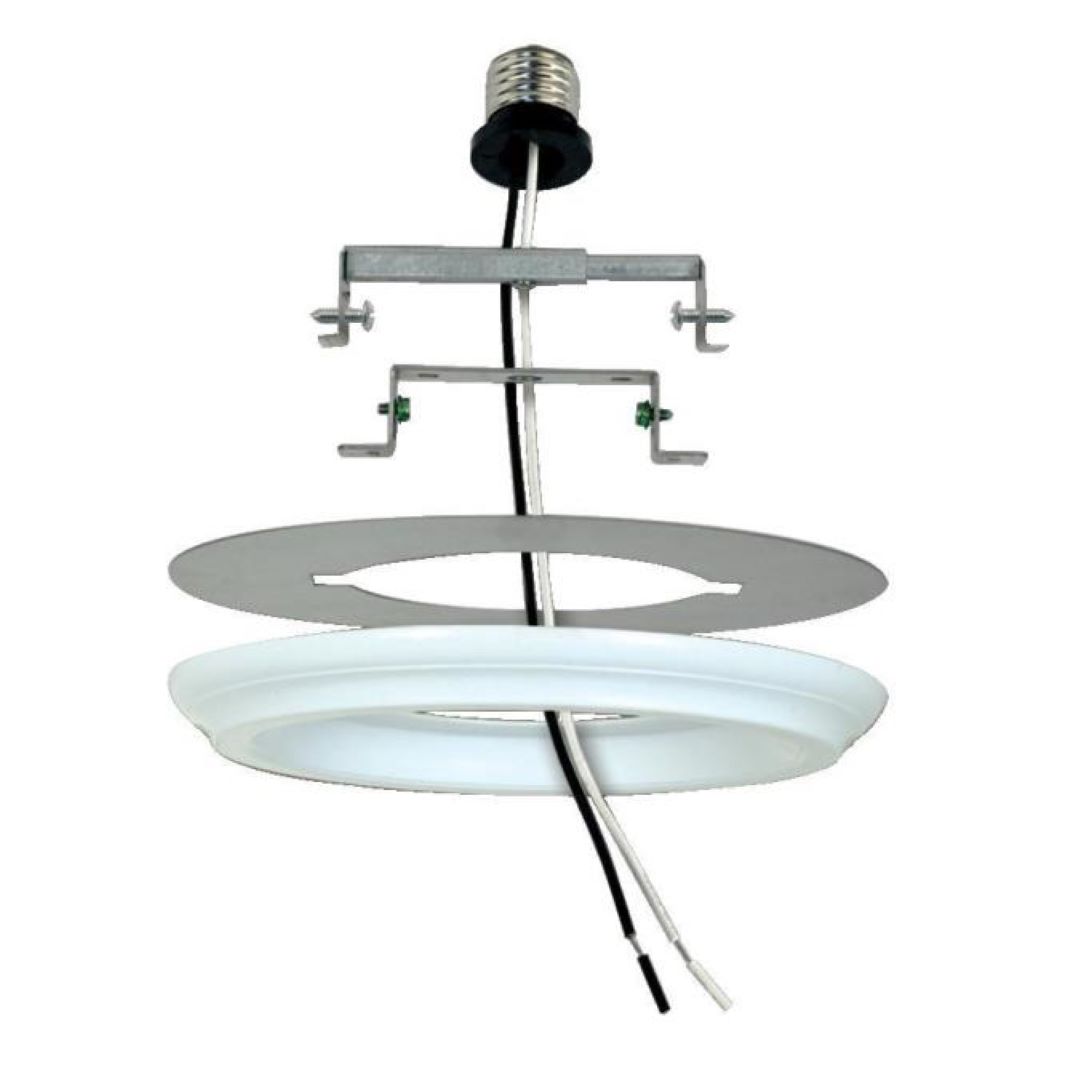
When considering replacement, understanding the various types of flush mount light conversion kits offered by different companies is vital. These kits allow for an easy transformation from recessed lighting to a more modern or visually appealing flush-mount light without significant modifications to the existing setup.
Among the popular options is the Westinghouse recessed light converter. This kit is designed for a wide range of LED lights and is known for its ease of installation, making it a go-to choice for homeowners and professionals alike. Similarly, Lowes offers a recessed light to flush mount converter, providing another reliable option with simple installation steps. Both kits typically include a screw-in connector and a mounting bracket, making it possible to attach your new flush-mount light without needing extensive electrical knowledge.
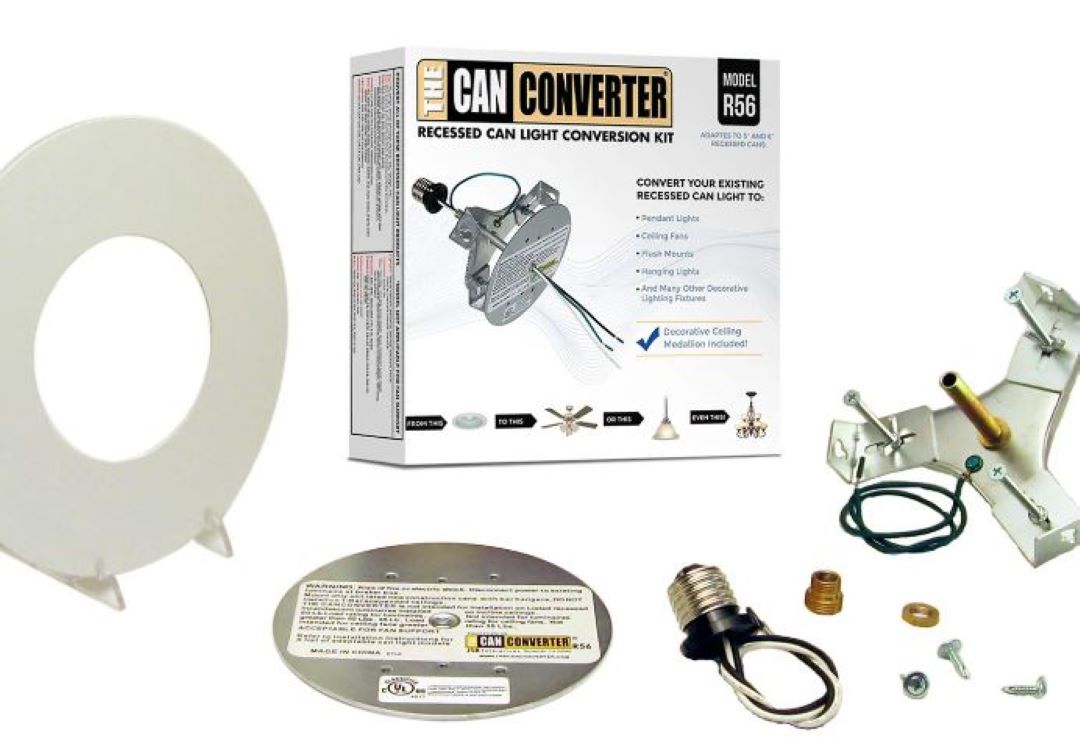
The process involves using screws to secure the bracket and making the necessary electrical connections with the provided wire nuts or connectors. Always ensure that the electrical connections are secure and that the new fixture is firmly attached before restoring power and testing the new light.
Do I need an electrician to install LED lights?
Yes, you need an electrician to install LED lights as their expertise ensures the voltage requirements are met safely and efficiently.
When dealing with your house's electrical system, it is crucial to pull or break open fittings and walls only with professional guidance. Using the correct connectors is the first thing a qualified electrician considers to avoid hazards.
Additionally, they offer more help in handling unexpected complications that may arise during the installation process. By hiring a professional, you ensure the LED lights are installed securely and functionally, maintaining the integrity of your home's electrical system.
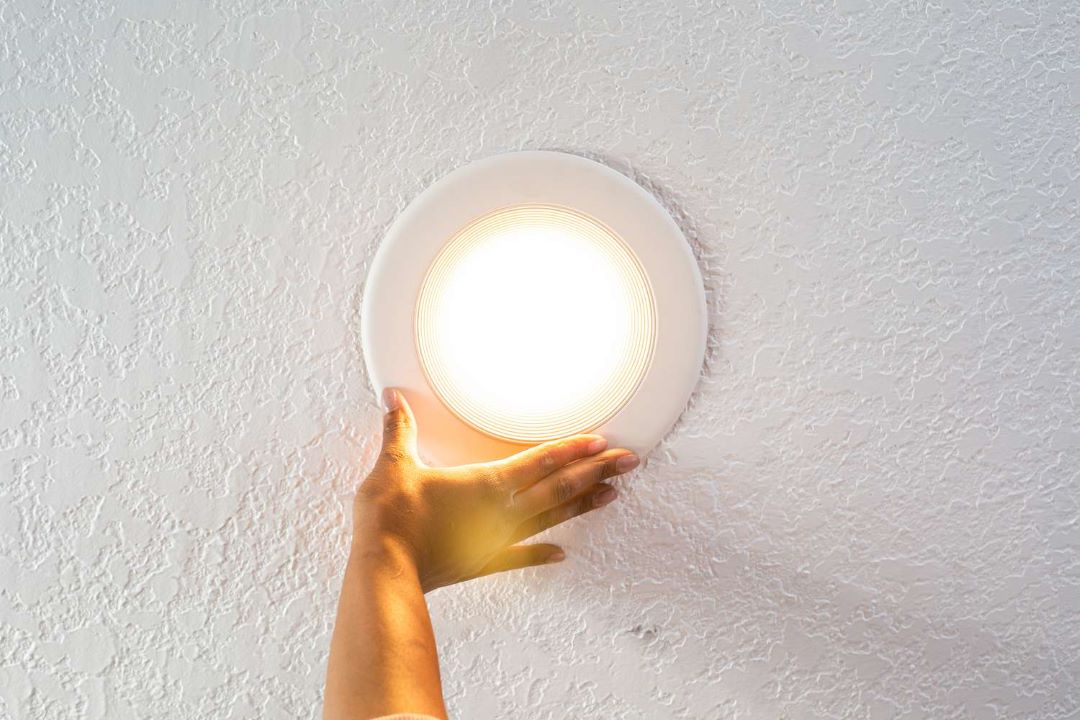
How do you install LED ceiling panel lights?
You install LED ceiling panel lights by first gathering all necessary tools and ensuring that you have the appropriate fitting for the room.
Begin by turning off the power at the circuit breaker to safely disconnect any existing fixtures, ensuring no current flows through the wires.
Next, unpack the new LED panel and check that the ballast is compatible with your setup. Carefully position the flange frame as per the manufacturer's instructions within the designated ceiling space.
Secure the frame tightly using screws or other provided fittings to avoid any shift during installation. Connect the wires from the LED panel to the existing wiring, ensuring each wire color matches appropriately while pulling them gently to confirm no loose connections.
Once the wires are connected, place the LED panel securely over the frame, ensuring it adequately covers the opening. Finally, turn on the power to test the new installation, making sure the light functions at its rated watt capacity without any flickering or interruption in the process.
Can I install a ceiling light myself?
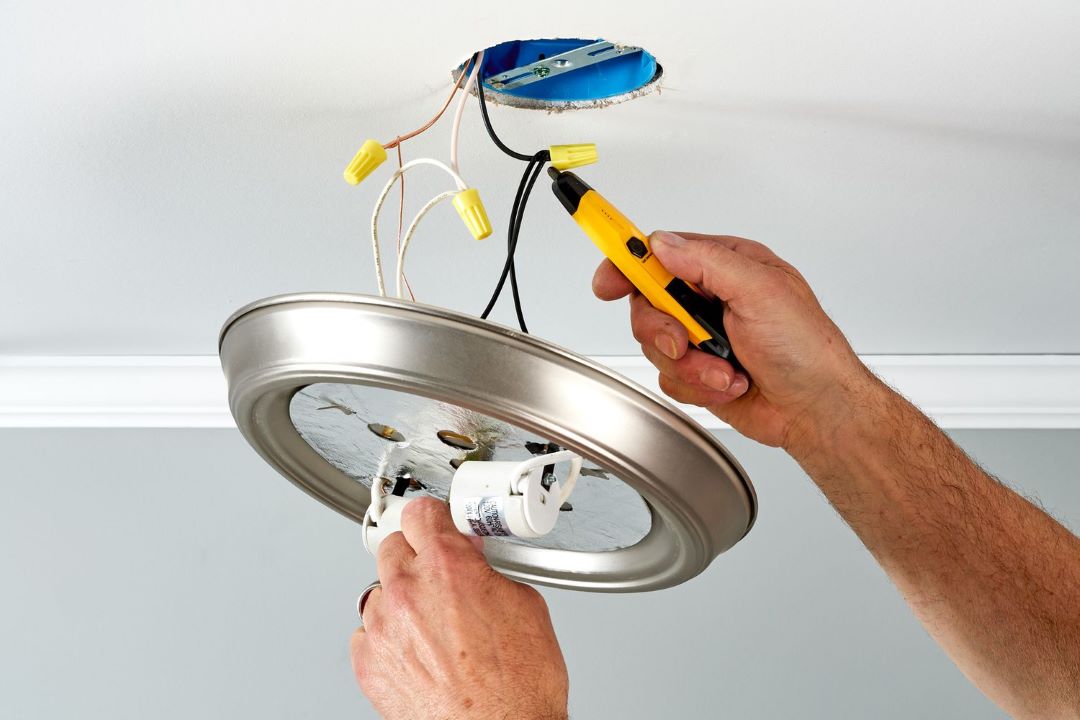
Yes, you can install a ceiling light yourself. However, it requires careful attention to detail and basic understanding of electrical work. The process typically involves removing the existing fixture, securing the new mounting bracket, connecting the wires correctly to avoid issues like flickering, and then securing the new ceiling light in place. Should the flickering issue persist, we have an article listing all 23 common problems with LED lighting in 2024 and how to troubleshoot them.
Whether you’re installing a brand new fixture or simply replacing old light bulbs, it’s crucial to ensure that everything is tightly screwed in and properly connected. This not only guarantees a successful installation but also enhances the lighting in your room, making it brighter and more welcoming.
If you are not sure about how many Watts is needed for HDB toilet light, check out our HDB home lighting guide Singapore.
How much does it cost to install LED ceiling lights?
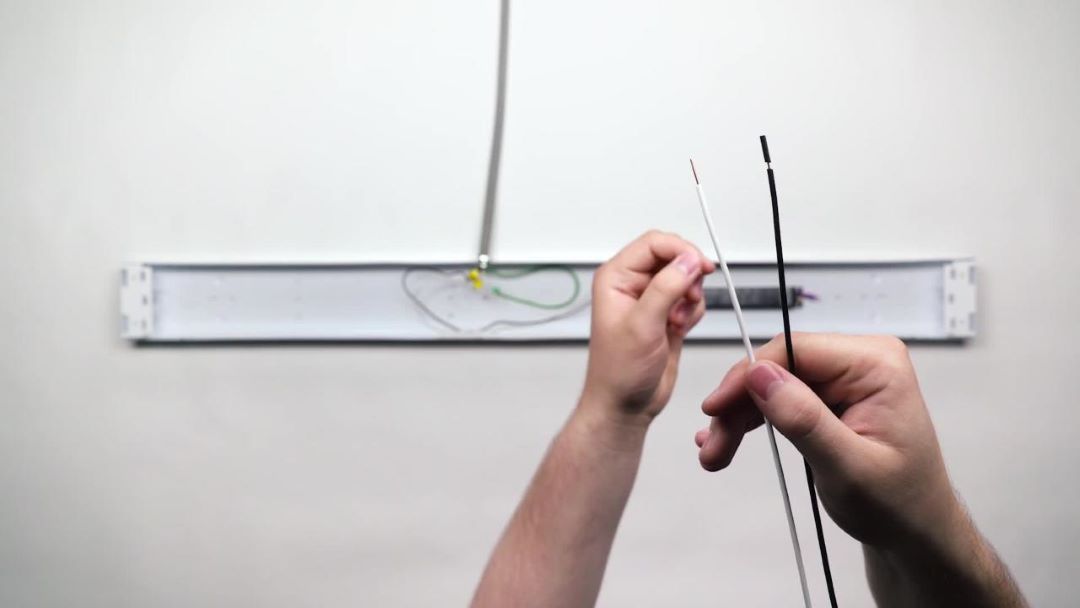
To install LED ceiling lights, certified electrician such as Lito Electrical Service charges S$80 per trip + $12(per light) for LED light installation, S$85 for wardrobe LED light sensors and S$12 per meter for LED display light strips.
Safety should always be a paramount concern when working with electrical systems, so hiring a professional electrician is recommended to ensure the work is done correctly and safely. The market for LED ceiling lights is vast, with options ranging from simple replacements to sophisticated, integrated systems requiring more intricate installation processes. Therefore, when replacing a conventional light with an LED fixture, it's crucial to consider not only the aesthetic and lighting benefits but also the installation costs to have it installed correctly and safely. Replacing a conventional light with LEDs not only provide aesthetic benefits, they also help you save a lot of money on electricity. Read to understand how much do LED lights save per month.
Do LED ceiling lights need wiring?
Yes, most LED ceiling lights require wires for installation. When replacing an old LED ceiling light with a new one, the first thing to examine is the existing wiring and circuit to ensure compatibility. Typically, the existing wires and connector in your house can be used for the new light, but if you need more help or the wiring seems complex, it’s wise to consult an electrician.