How To Install a Smart Switch Yourself? - Smart Switch Installation Guide
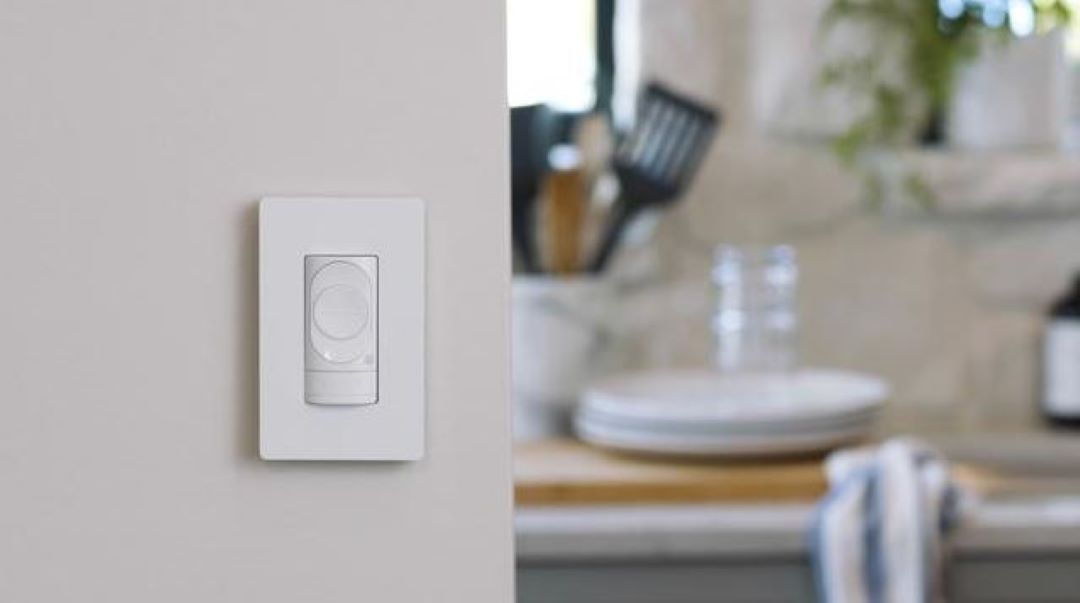
You install a smart switch yourself by following these straightforward smart switch installation steps. Begin by turning off the power at the breaker box to avoid electric shock. Next, remove your existing switch from the wall box, carefully noting the wire connections.
Prepare the new smart light switch by connecting it according to the instructions, ensuring the neutral wire is properly connected as most smart switches require one. Secure all wire connections with wire connectors and use a non-contact voltage tester to double-check for safety.
Once connected, continue the smart light switch installation process by reattaching the new smart switch back to the wall box, replacing the wall plate, and restoring power. Configure your new smart light switch WiFi according to the manufacturer's instructions, integrating it with your smart home devices such as Google Home for ultimate convenience.
With these steps, you can easily replace your regular light switch with a smart switch, enhancing your smart home setup with remote control, smart lighting, and all the features modern technology offers.
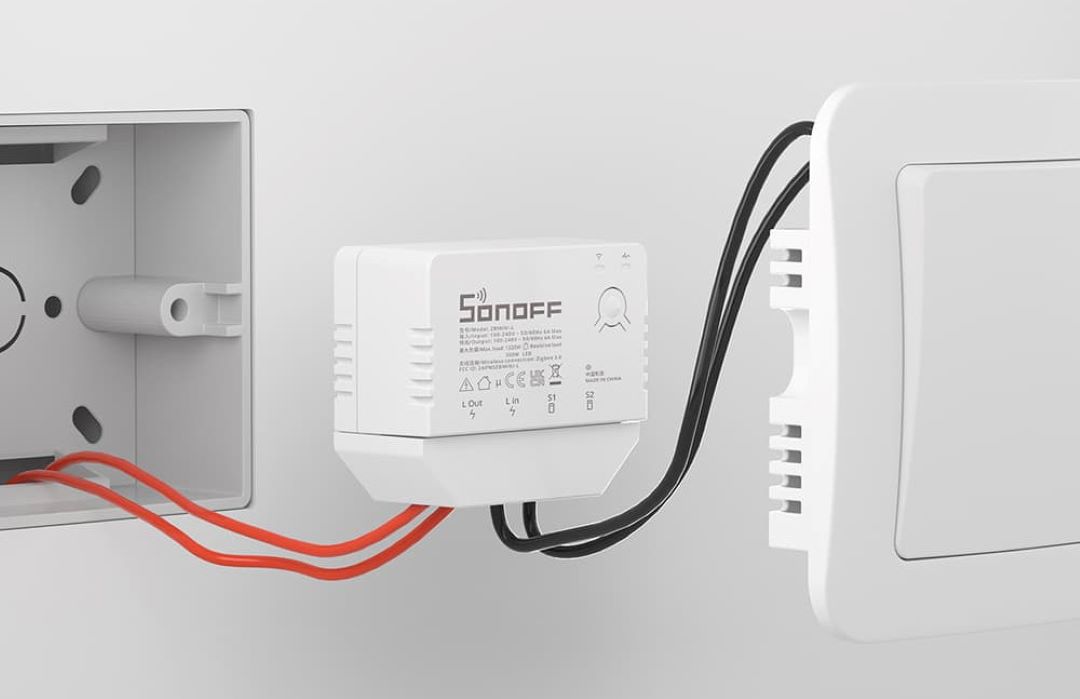
How to install smart light switch with neutral?
You install smart light switch with neutral wire by first turning off the power at the breaker box to prevent electric shock. Use a non-contact voltage tester to confirm that the power is off.
Remove the wall plate and use a screwdriver to detach the existing switch from the wall box. Carefully disconnect the wire connections, taking note of the wiring setup of the existing switch.
Once you have disassembled the traditional switch, identify the neutral wire, usually white or gray in color. Smart switches require a neutral wire to function properly, unlike regular light switches.
With a wire stripper, prepare the wires for connection. Follow the manufacturer's instructions to connect the wires of the new smart light switch, including the ground wire, to their respective terminals using wire connectors. Secure the new switch into the wall box and replace the wall plate.
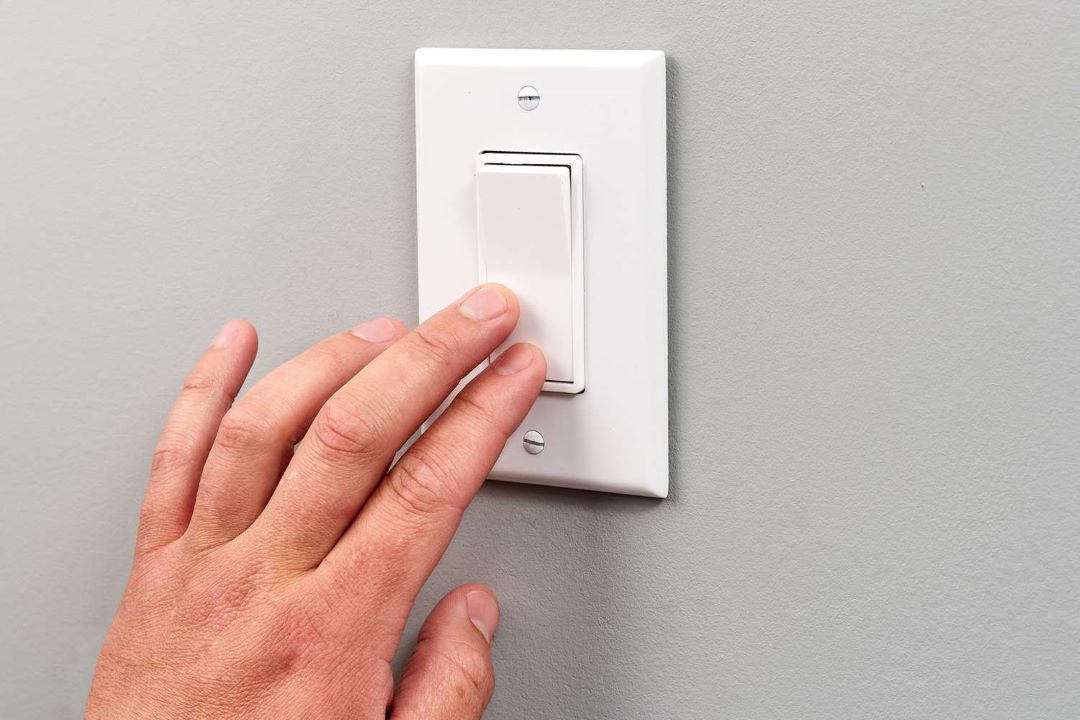
After installing smart switches, restore power at the fuse box and test the new smart light switch installation by toggling it on and off. If properly installed, your smart switch should operate the existing bulbs, ceiling fan, or other smart devices connected.
Many smart light switches can be paired with a smart hub or platforms like Google Home to enable remote control and integration with other smart home devices.
Not all switches are compatible with smart lighting; thus, it's essential to ensure your existing light switch setup matches the requirements of the smart switch.
Traditional switch setups with no neutral wire will need an alternate solution. Most smart switches offer advanced features that go beyond just turning lights on and off, enhancing the overall functionality of a smart home.
Once installed, you can control your smart lights and smart bulbs from one switch or three switches, making your home lighting system more convenient and customizable.
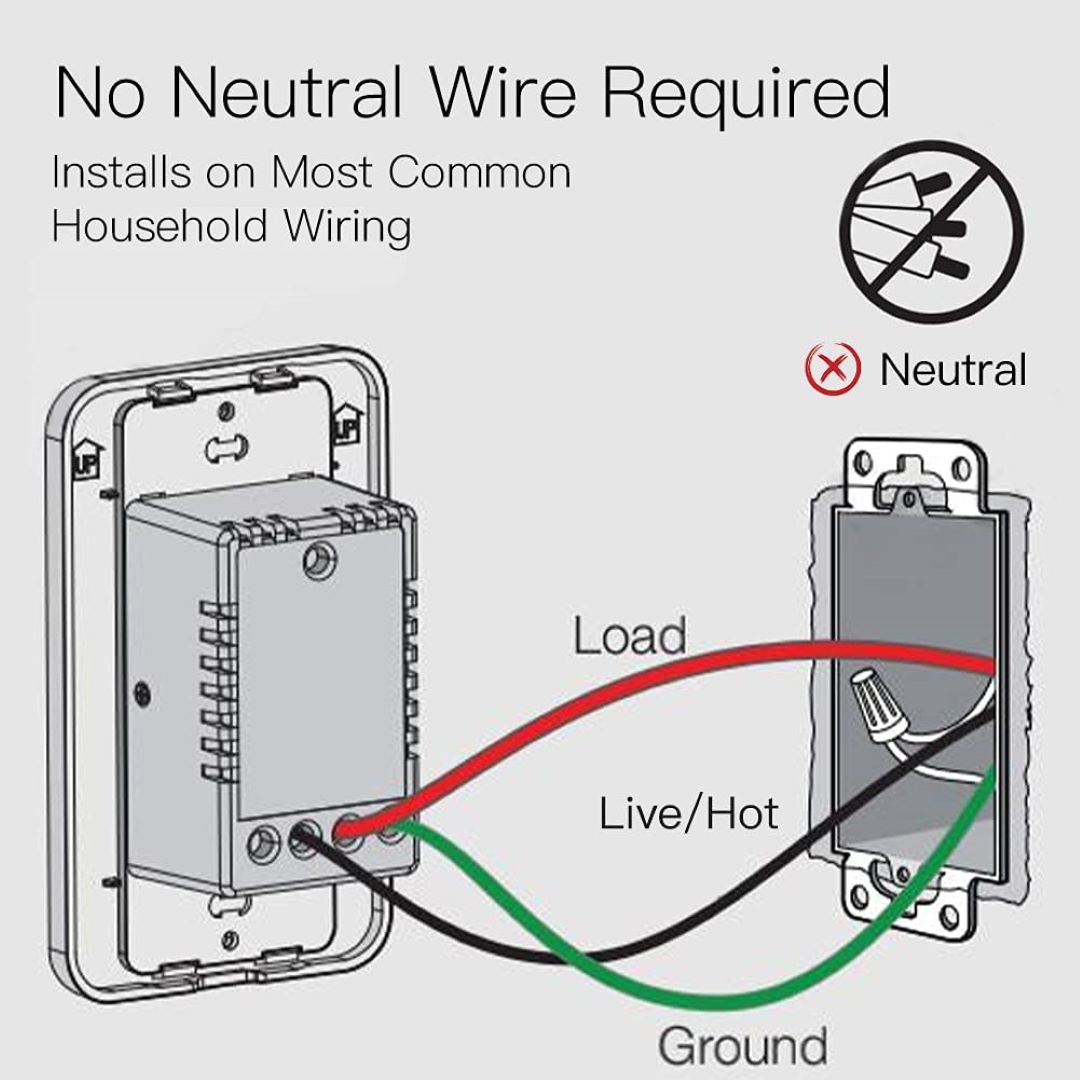
How to install smart light switch without neutral?
You install a smart light switch without neutral wire by first identifying whether your current setup allows for a no-neutral switch installation, as not all switches are compatible with such configurations.
Begin by switching off the power at the breaker box to avoid electric shock. Using a non-contact voltage tester, ensure there is no current in the wires.
Remove the wall plate of the existing light switch and gently detach the old switch from the wall box. Carefully inspect the existing wire connections and use a wire stripper to prepare the ends if necessary.
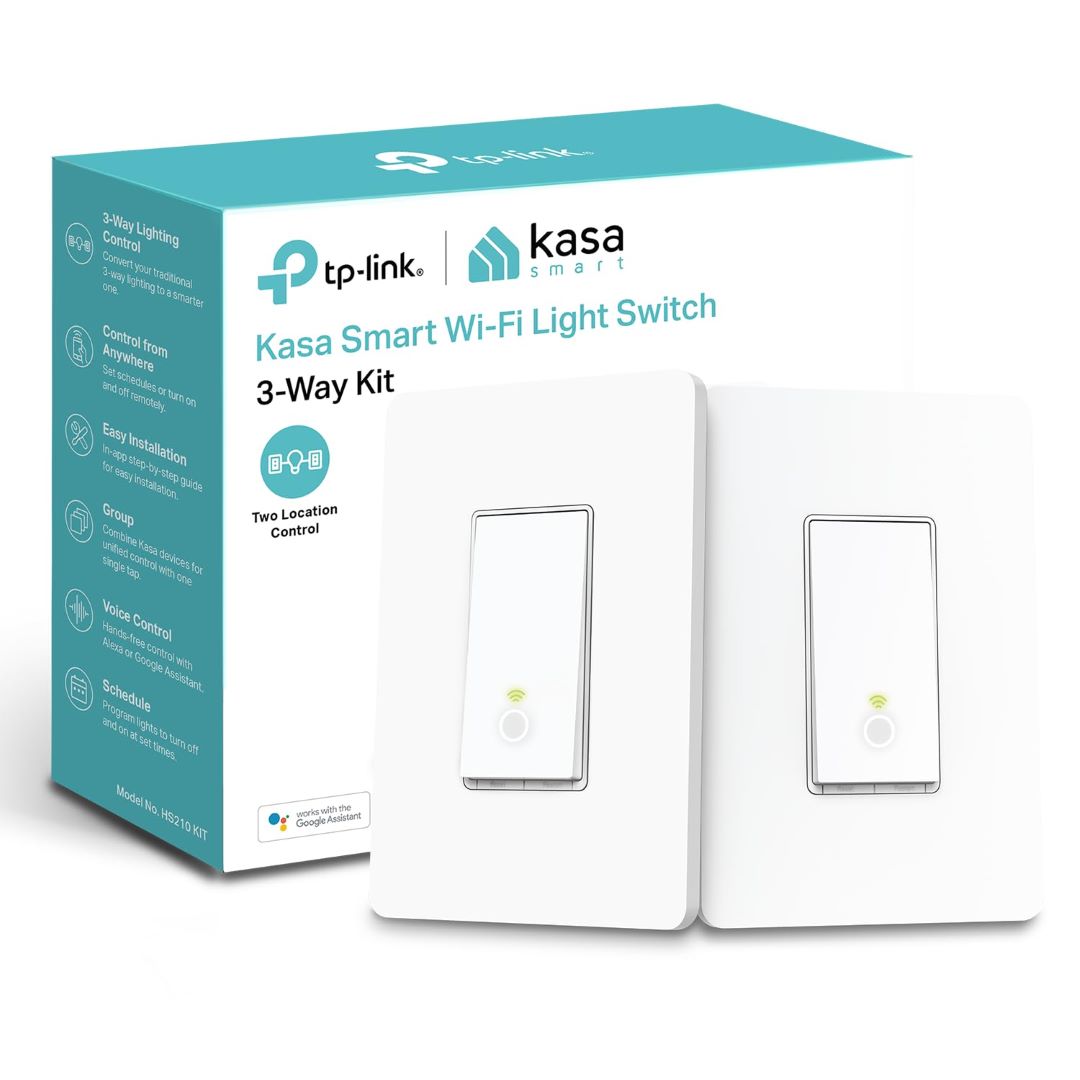
For installation, a KASA smart switch without a neutral wire, like other TP-link smart switches no neutral, can be a good choice as they are specifically designed for such setups. Similarly, Lutron smart switches with no neutral are another reliable option due to their wide array of features.
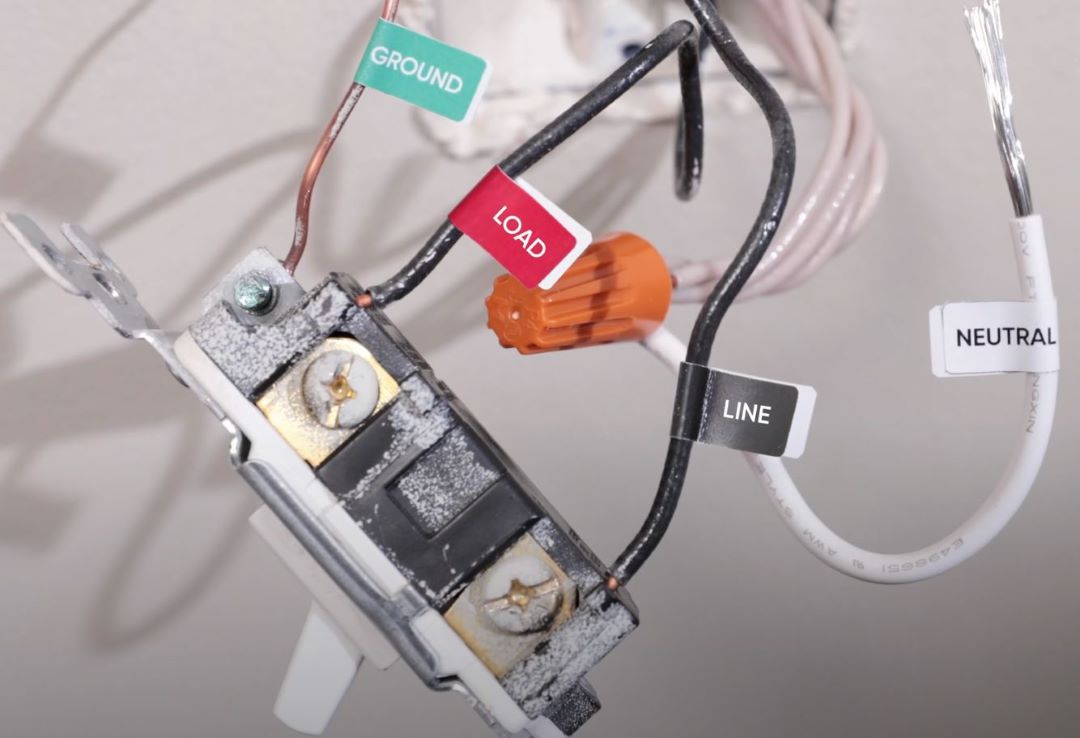
Connect the necessary wires—usually involving the line, load, and ground wires—and secure them with wire connectors. Use electrical tape to ensure the connections are insulated.
After attaching the switch to the wall panel and reattaching the wall plate, switch the breaker back on to test. This process is similar whether you’re handling one switch or three switches for multi-way configurations.
These smart switches integrate seamlessly with smart home systems, like Google Home, enabling remote control and smart lighting capabilities.
Adding smart light switches can significantly enhance your smart home experience, making your regular light switches a thing of the past.
Most smart switches, including those for ceiling fans and other smart devices, will need to be paired with the respective smart hub to unlock all their features.
How to add a neutral wire to a light switch?
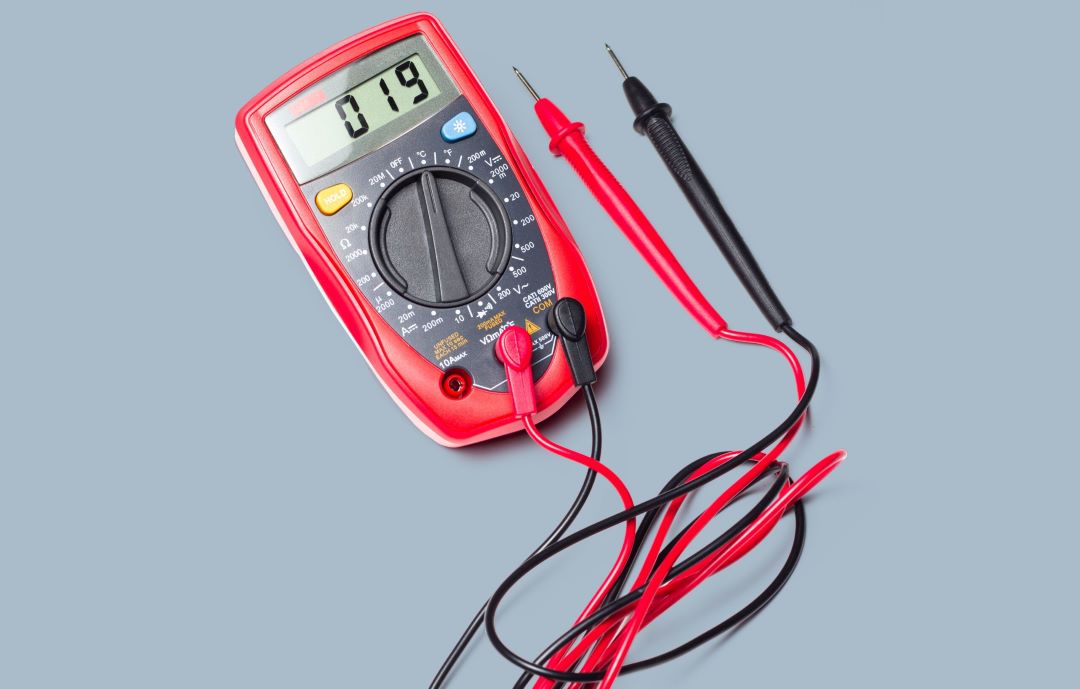
You add a neutral wire to a light switch by first ensuring that you have turned off the power at the breaker box to avoid electric shock. Start by removing the wall plate of the existing light switch using a screwdriver. Use a non-contact voltage tester to confirm no current is present.
Next, carefully disconnect the old switch from the wall box, exposing the wire connections. Locate the ground wire, typically green or bare, and the line (hot) wire, usually black. If your wall box has no white or gray wire, you will need to create a neutral wire.
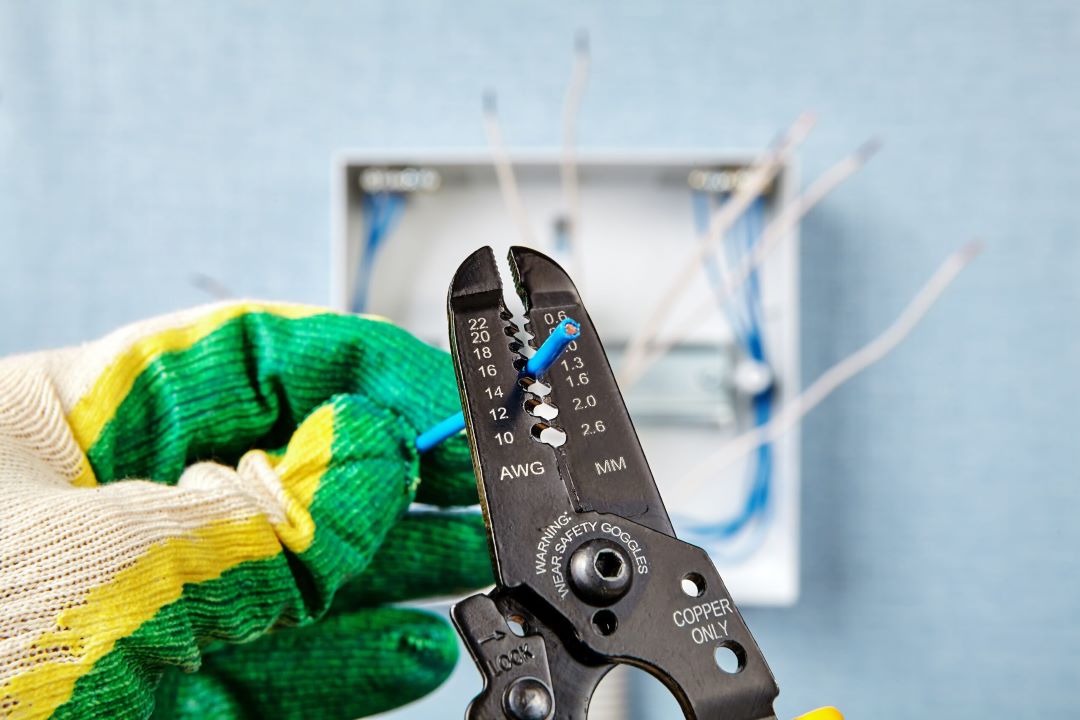
You can do this by running a new wire from the existing bulbs' ceiling fan or nearest outlet that already contains a neutral wire. Use wire strippers to trim the new wire and connect it to the switch termini labeled for neutral wires. Secure all connections with wire connectors and cover them with electrical tape for added safety.
Once the neutral wire is in place, connect it to the designated terminal on your smart switch. Ensure all connections are tight and secure before fitting the switch back into the wall box and reattaching the wall plate. Many smart light switches, including those used in smart home setups, require this additional neutral wire for optimal functionality.
To add a neutral wire to an outlet or a 3-phase system, repeat the same process of sourcing a neutral wire from the fuse box or any accessible outlet with a confirmed neutral. This method ensures that your house accommodates the increasing number of smart devices, such as smart bulbs, remote controls, and other smart home devices like Google Home.
Whether adding one switch or updating three switches, it is important to follow all safety precautions and confirm all wire connections to prevent any electrical hazards.
Not all switches and wall panels are designed for smart lighting. While most smart switches require a neutral wire, some newer models can function without one.
If you’re uncertain, consult with an electrician to ensure your installation meets all the features and safety standards. By upgrading from traditional switches to smart light switches, you enable the integration of smart home devices, creating an interconnected and responsive living environment.
How to wire a smart switch with 2 wires?
You wire a smart switch with 2 wires by first ensuring that the power to the existing switch is turned off at the breaker box or fuse box using a non contact voltage tester to confirm.
Remove the wall panel with a butter knife to access the current wiring. Identify the hot wire and the load wire, using a wire stripper to strip the ends where necessary.
Disconnect the existing switch and connect the smart switch wires to the hot and load wires with wire connectors, ensuring a secure wire connection for optimal performance. If there is a ground wire, attach it to the smart switch installed for added safety.
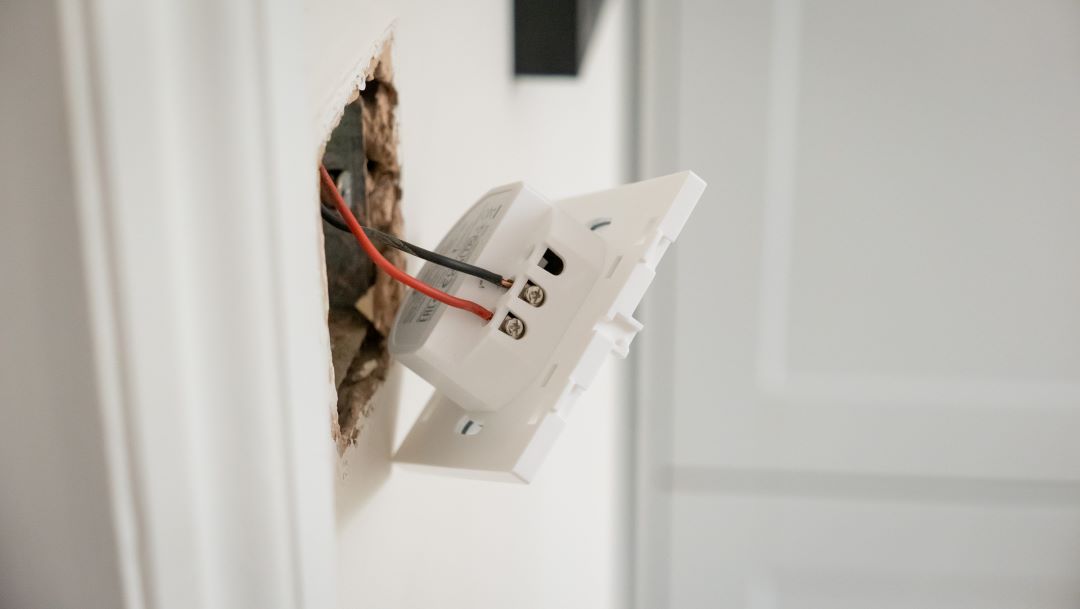
However, some light switches may not have a neutral wire, making it imperative to choose a smart switch that is compatible with this configuration.
When wiring a light switch with only 2 wires, it's essential to refer to the smart switch wiring diagram provided by the manufacturer to avoid errors. During installation, secure the connections with electrical tape and carefully tuck the wires back into the wall.
Reinstall the wall plate, turn the breaker back on, and test the smart lighting via your smart home system, such as Google Home, to ensure that the lights belong to the right switches.
Whether you're installing one switch, two switches, or three switches, adhering to these guidelines helps achieve a seamless installation process, enhancing the convenience and aesthetics of your smart home setup.
How to connect smart light switch to WIFI?
You connect smart light switch to WI FI by first ensuring that all the wires in your wall box are properly connected. Begin by turning off the power to your existing switch and removing it from the wall.
Next, identify the neutral wires, as most smart switches require a neutral wire to function correctly. If there are no neutral wires present, you may need to install a new switch that doesn't require a neutral wire. Once your new switch is wired, securely attach the wall plate and turn the power back on.
After confirming the wired connection is intact, proceed to set up the WI FI connection. Download the manufacturer's app on your smartphone and follow the instructions to connect the switch to your WI FI network.
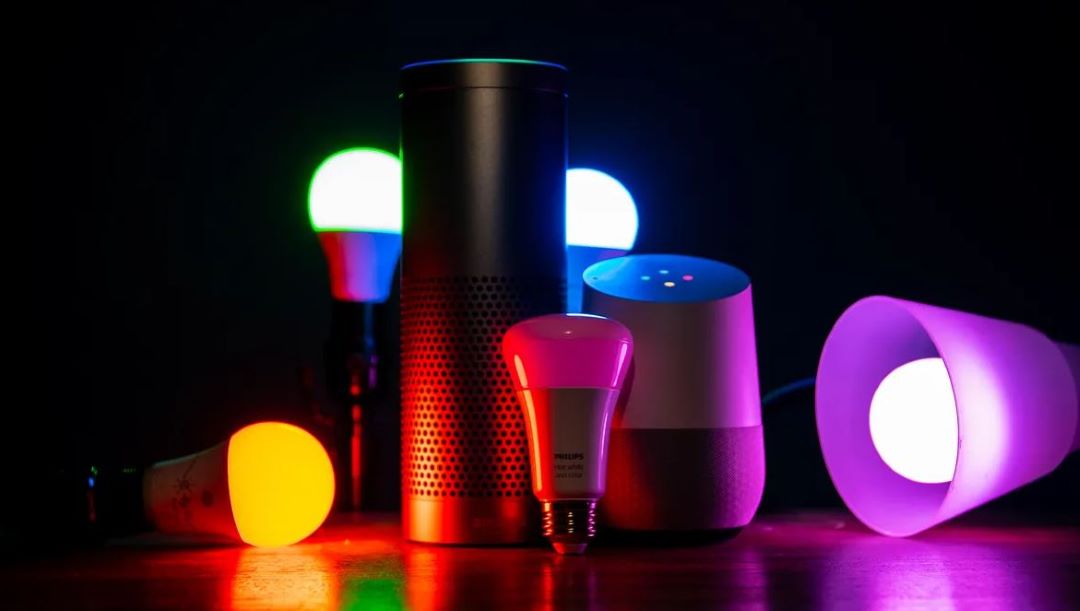
Many smart light switches can automatically detect the WI FI network and prompt you to enter the password. Once connected, the smart switch will communicate through your WI FI network, allowing you to control the lights via the app or a smart hub.
To integrate your smart light switch with Alexa, open the Alexa app and navigate to the "Devices" tab. Select "Add Device" and choose the type of device you are setting up, in this case, a smart light switch.
Follow the prompts to connect Alexa to your smart switch. Once the smart light switch is recognized, you can use voice commands to turn lights on and off, adjust brightness, and more with Alexa's assistant.
Remember that some smart switches may require additional setup steps, so always refer to the manufacturer’s instructions for detailed guidelines.
Can I install smart switches myself?
Yes, you can install smart switches yourself. The installation process of this new device can be straightforward if you follow the proper steps and guidelines. First, ensure that you turn off the power supply at the breaker box to avoid any risk of electric shock.
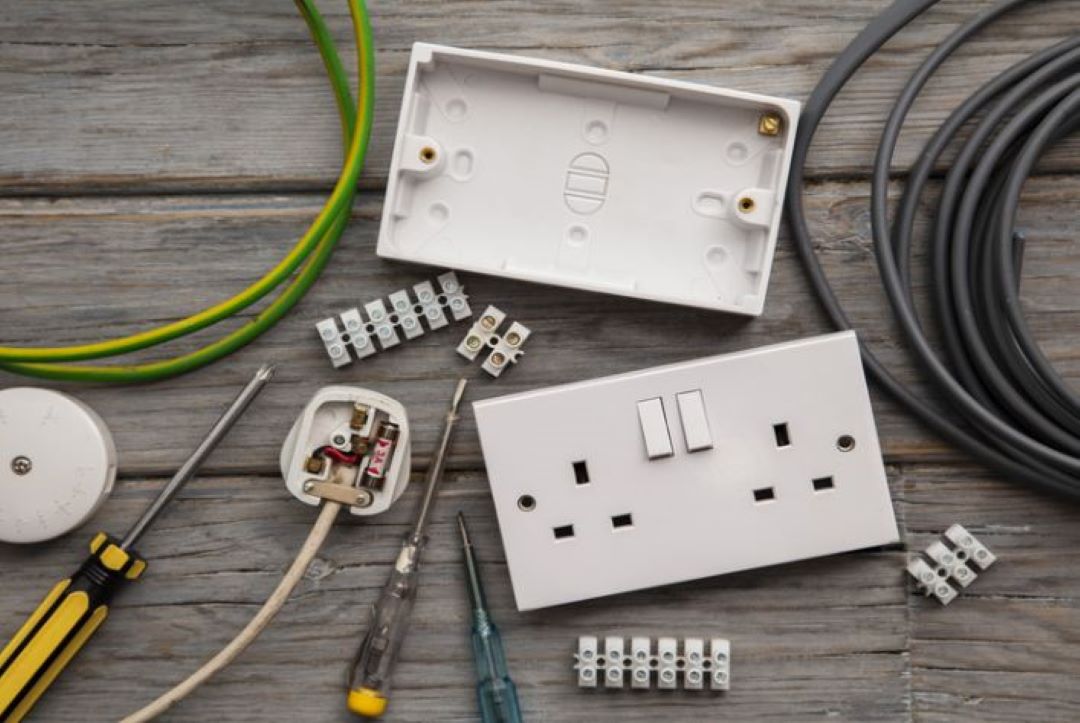
A wire stripper and a butter knife might come in handy for removing the old switch and preparing the wirings for the new smart switch. Not all smart light switches are compatible with your existing wall switch setup or traditional switch setups, so it’s important to check if additional wiring, such as a neutral wire, is required.
Using wire connectors, make sure to secure all the wires inside the wall box properly. Some smart switches may come with a USB cable for firmware updates or initial setups.

After the physical installation, connect your smart switch to your WI FI network using a smartphone app, available on platforms like Google Play. For deeper details and understanding, read to understand how do smart switches function?
The app can guide you through the setup and ensure that the switch works as intended. Devices like Google Home can also help integrate the smart switch into your smart home system.
If your lights belong to a ceiling fan or other fixtures, check their compatibility with the smart switch. In some cases, consulting a professional electrician might be advisable to ensure all the connections are correct and safe.
You can choose to replace to a smart switch if you are experiencing issues with your existing light switch. Here are the signs that you need a light switch repair. In addition, we highly recommend you to read this guide to buying a smart switch before rushing into any replacement works.
Once installed, you can control your lights, and other existing switch(es), and access all the features from your smartphone, making it easy to turn lights on or off and create convenient schedules.
Do you need special wiring for a smart switch?
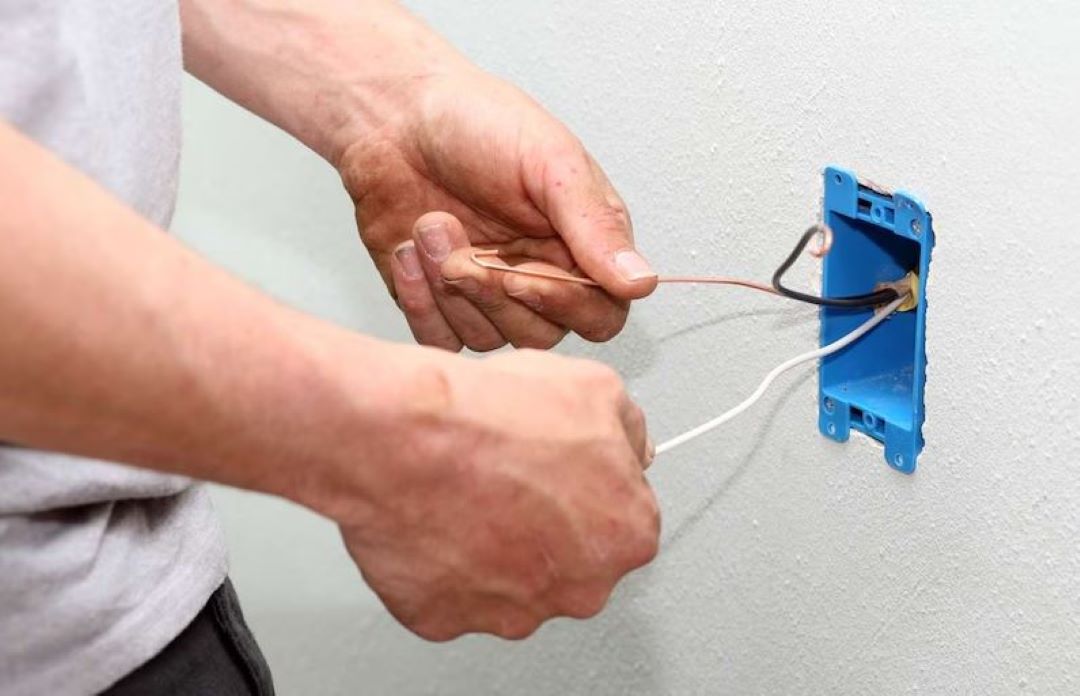
Yes, you need special wiring for a smart switch if it requires a neutral wire. A neutral wire is essential for many smart switches to function correctly, as it provides the necessary power supply for the new device even when the switch is in the 'off' position.
If you're installing a smart switch without a neutral wire, the communication protocol between the new switch and your smartphone app—be it through Wi-Fi or another method—won't work optimally.
In this case, you might need to hire a professional electrician to add a neutral wire, ensuring the installation process is smooth and that the smart switch works as intended.
Using a smart switch without a neutral wire may not be compatible with traditional switches and may impact the overall functionality if not properly installed.
To facilitate setup, you can use related apps available on platforms like Google Play, which help in connecting and managing your smart switch efficiently.
Can a smart switch be programmed?
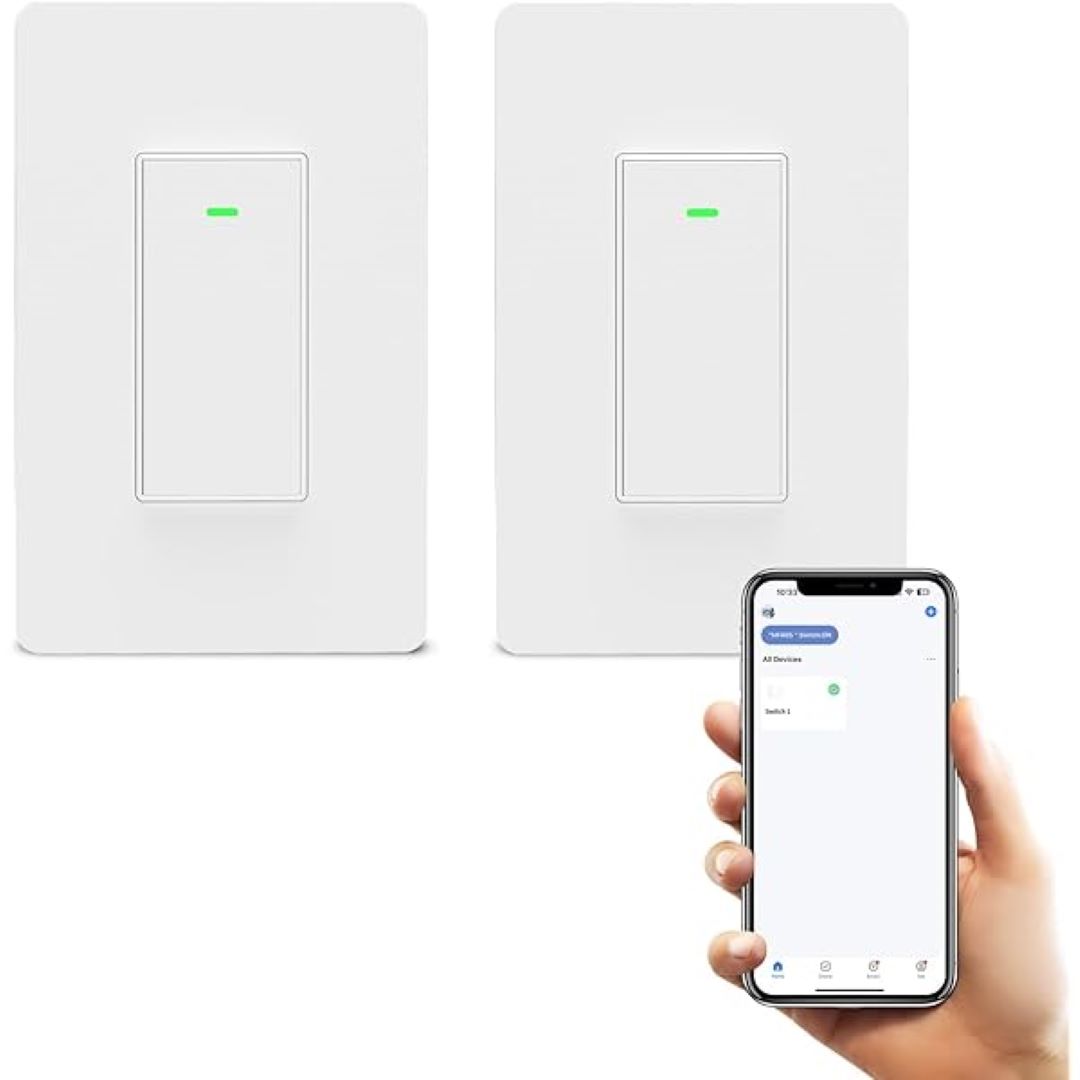
Yes, a smart switch can be programmed if you install smart switch. The installation process typically involves connecting the new device to your existing wiring and configuring it through a smartphone app, which can be easily downloaded from Google Play.
Once the new smart switch is installed, it works with various communication protocol(s), often relying on Wi-Fi to ensure seamless integration with your smart home ecosystem.
While some homeowners might prefer the assistance of a professional electrician, it's entirely possible to handle the installation process yourself if you follow the instructions carefully.
This approach not only allows you to take full control of how the smart switch operates but also ensures that the device communicates efficiently with other smart home technologies.
Still not sure whether to get a smart switch or not? These are the top benefits of installing smart switches at home!